oh heyyy!
We are Sam + Bryt, wife and wife elopement photographers, business educators, and LGBTQ+ activitists! We are so freaking excited that you are here!
If you are ready to go on an adventure, feel empowered, or learn how to level up your business, we are your girls! So.. what are you waiting for? Let's do this thing!
Come be social!
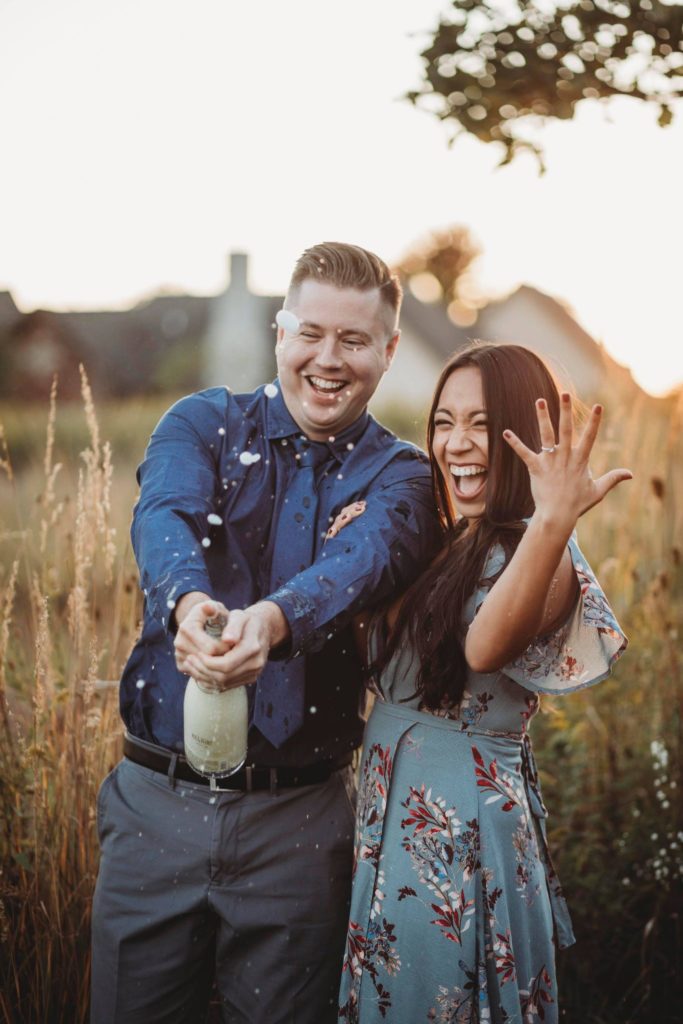
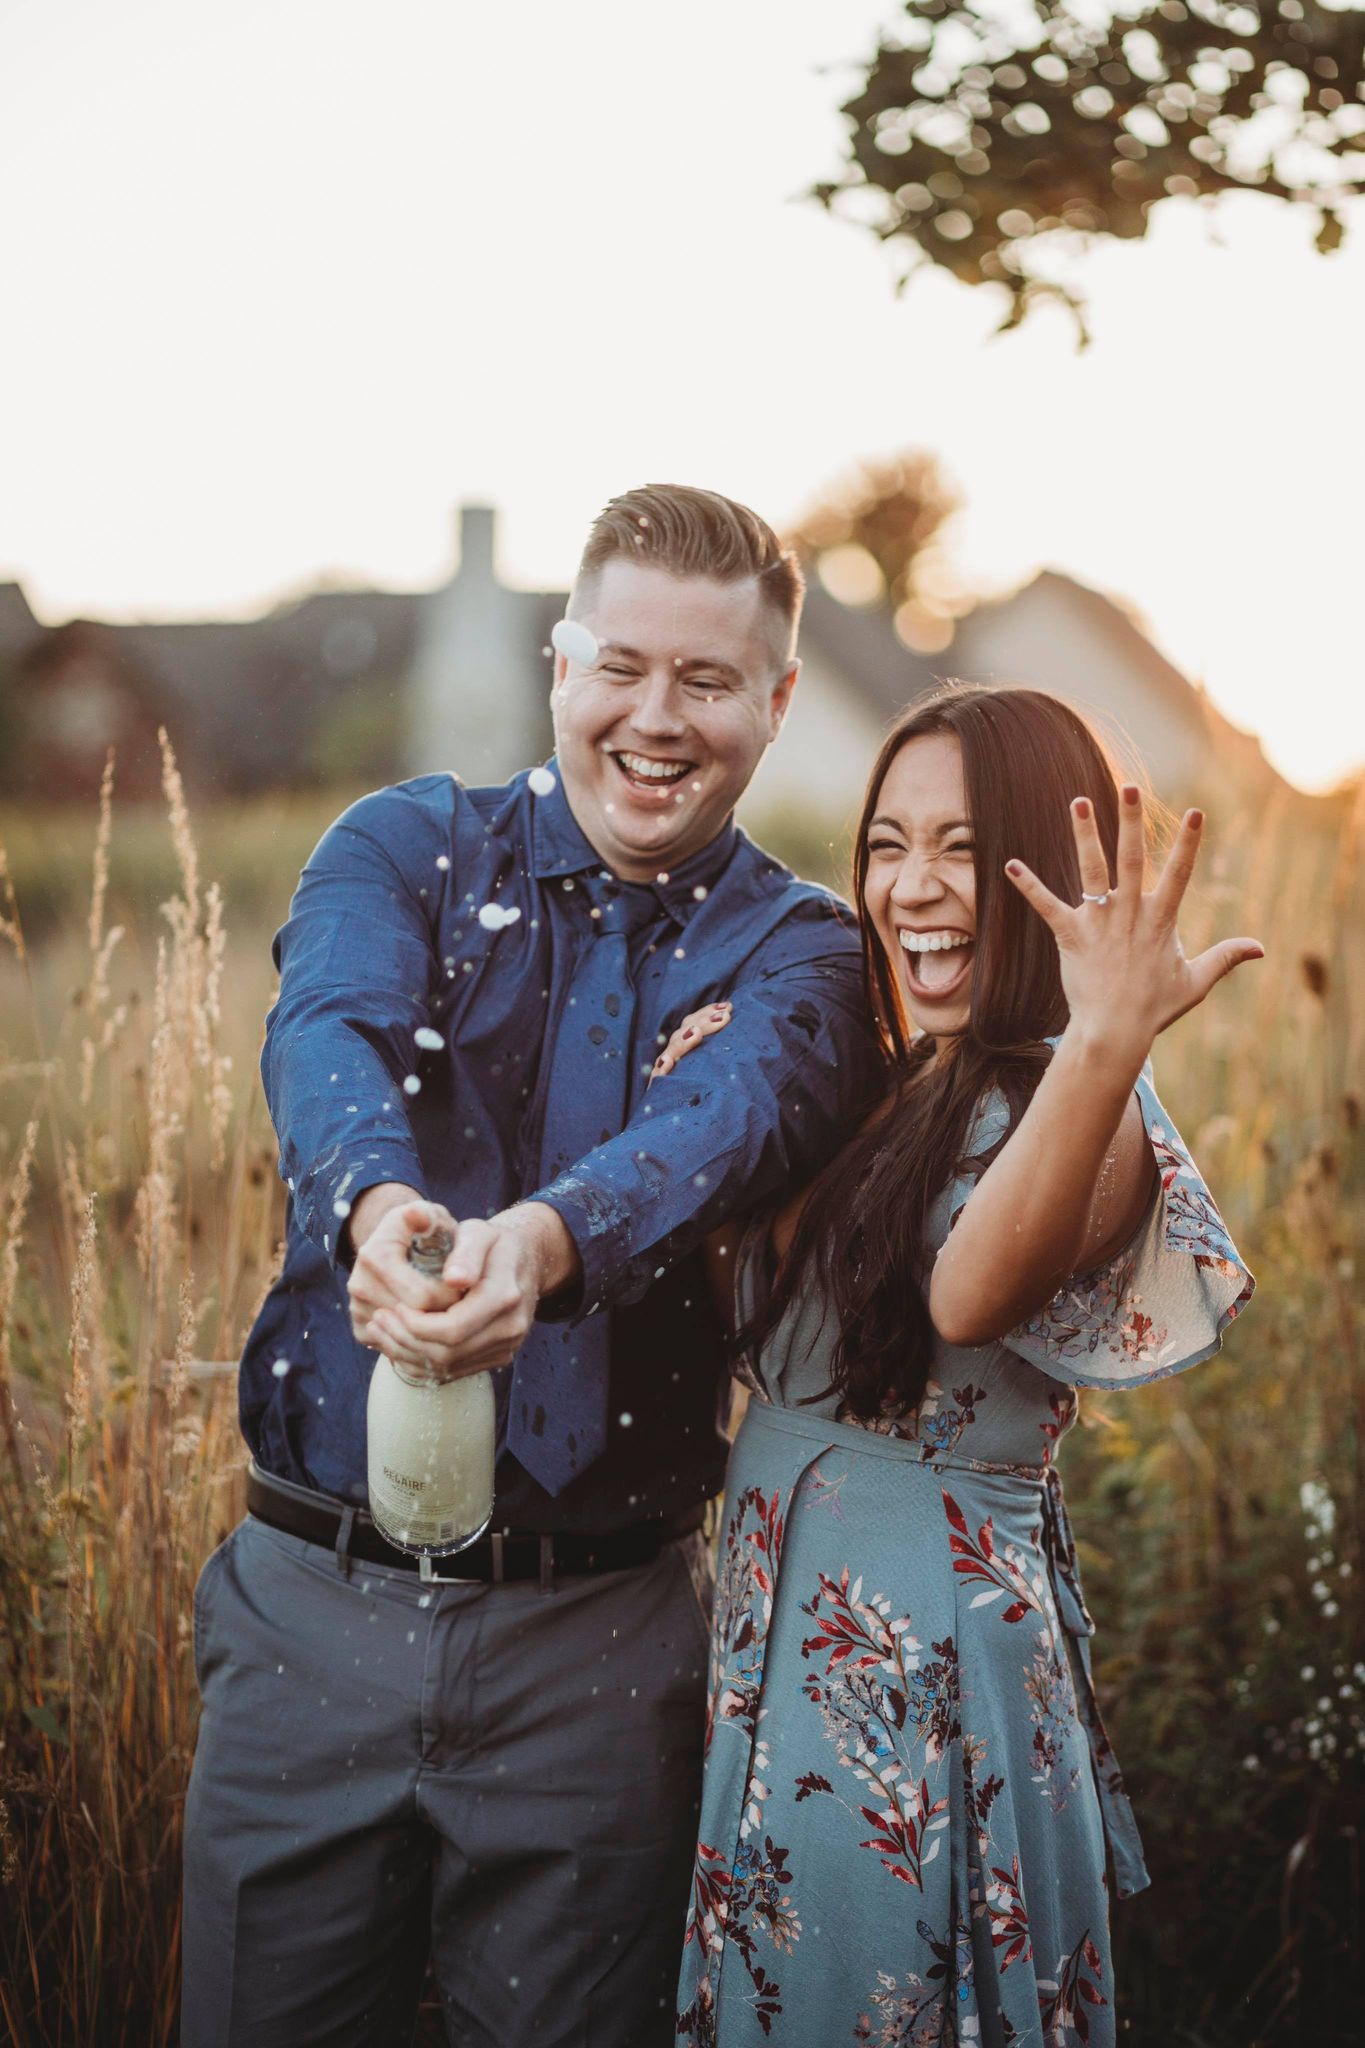
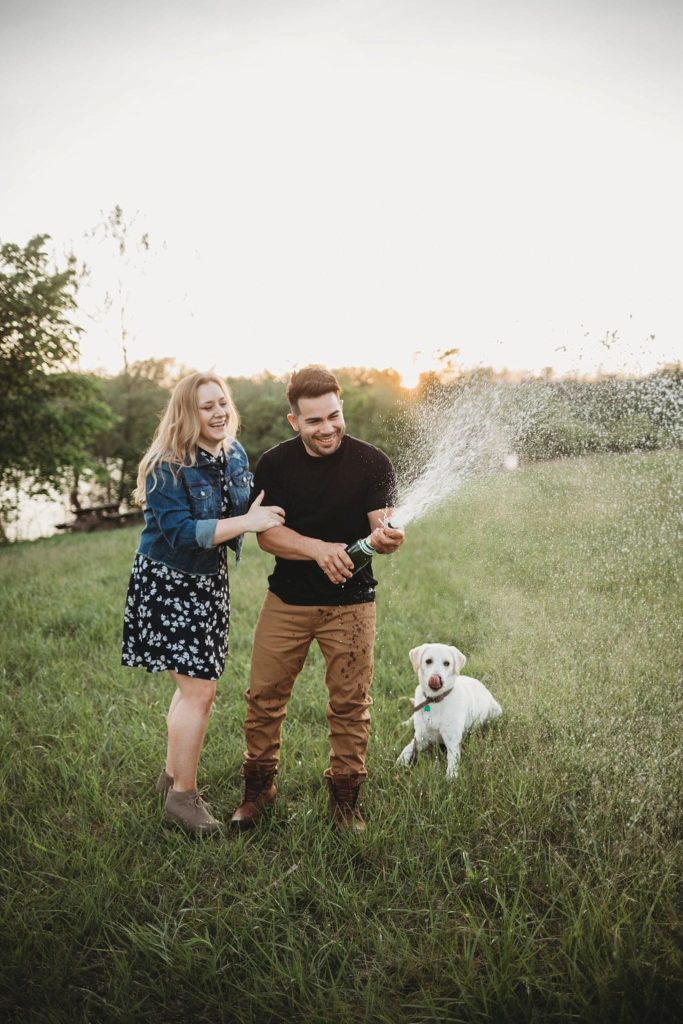
Every wonder how you get those perfect photos from a champagne photoshoot?! Want to capture the perfect bubbly stream? Well wonder no more! We are dropping some tips for couples and photogs to get those BOMB champagne pop pics!
Tips for a Perfect Champagne Photoshoot
1. Shake It, Shake It
And we mean, shake it LIKE A LOT. Don’t hold back! You literally cannot shake the bottle too much. I like to keep it in my bag with me during the session so that while we are walking, there’s a little shaking going on. We also shake it while walking to our last few places. Before the pop, while you are telling your couple the directions, have them shake it super vigorously to assure it’s 100% ready!
2. Bring Extra Bottles
Sometimes the first bottle is a dud, because we just needed one pop to learn from 😉 Always bring at least 2 bottles! Then if the first one works, you can just chug the second one! Ha! But really, you could also use the second one for different poses as well. But at least if you have two, you are bound to get some aaaamazing photos with one of the bottles!
3. Corks Before Twist //Champagne Photoshoot
Make sure it has a cork instead of a twist top! Twist tops aren’t terrible, and they work, but in my opinion it’s much easier to get your thumb over the top when you aren’t having to twist with your whole hand. You can usually tell what type of bottle it is by looking at the top.
4. Hand Placement + Directions
As soon as you pop it, place your thumb over the top to “spray it”. Then KEEP shaking it WHILE it sprays! I like to have my couples shake it up and down at the same time! Think about putting your thumb over the top like if you were spraying someone with a watering hose!
5. Line of Fire
Photogs, stand right in the line of fire! Seriously! Have your couples start by popping it to the side (so the cork doesn’t hit ya) then have them movie the stream of bubbly towards you. I pretty much just stand right in front of my couples and get super soaked, but it’s all in good fun! I direct them to spray it right over my shoulder! (They will look at you like they are crazy, but it’s worth it!)
6. Smile, Duh 😉
I always remind my couples that you have to EXPECT the pop! Don’t act scared of it! So remember to SMILE and show your excitement, especially as soon as it pops. The anticipation of the POP can be the worst ha! But you know it’s coming, so start smiling and get suuuuper excited!
7. Posing Ideas for a Champagne Photoshoot
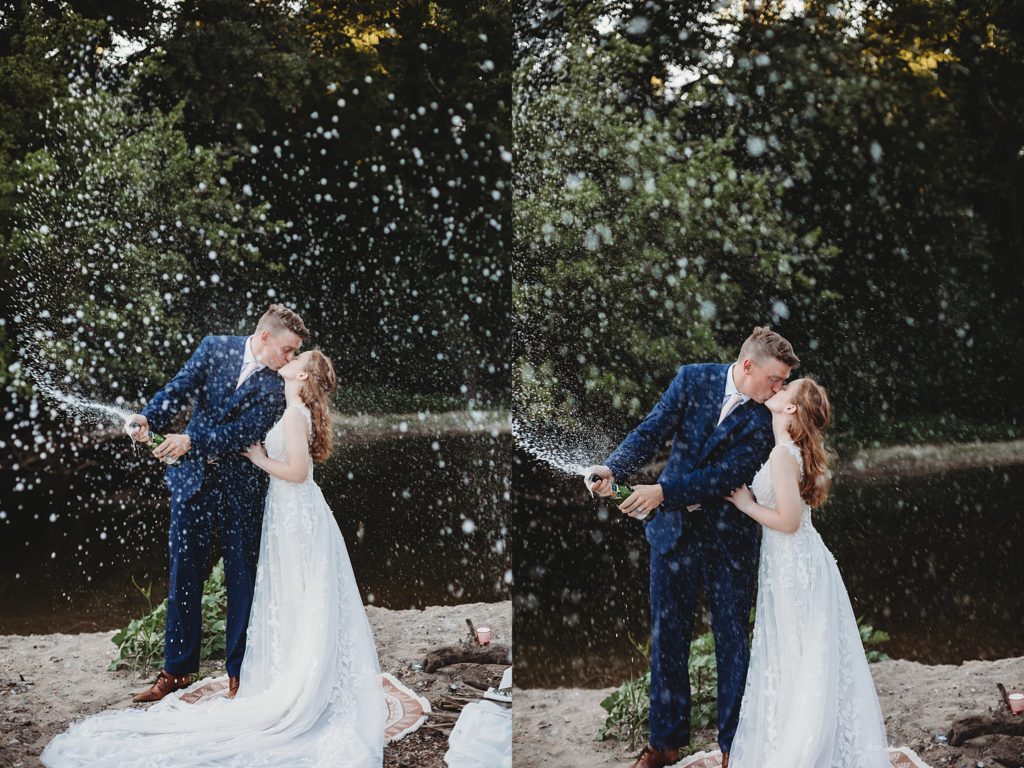
Photogs- be sure to plan out your poses BEFORE you pop the champagne. While my couple is shaking the bottles, I am walking through a list of poses and ideas so that as soon as they pop it, they know a sequence of poses to work though! This will help you get the most BANG for the POP! See what I did there haha! I love having one partner hold on to the other partner, while popping. Then they can do one smiling at the camera, one looking at each other, one showing off their bling, and one kissing. But totally feel free to get creative too! If you have 3 bottles, you can even have BOTH partners pop at the same time! Now that’s a perfect champagne photoshoot 😉
8. Consider The Background
One thing that I think is really helpful to see the white bubbly goodness is to remember to shoot on a dark background. This will help the spray standout! I also love shooting into the sunset with this, the light illuminates the spray and almost gives it a golden feel! Soooo good.
9. Timing is Everthing
Because your couple (and you) are bound to get wet and smell like alcohol, I suggest doing this at the end of your session/elopement. That way, if you are super sticky, it’s not the end of the world! Plus, I don’t know about you, but I don’t really want to walk around the whole session smelling like champagne LOLZ. However, it is super helpful to bring some wipes to clean up!
10. Cheap is Fine
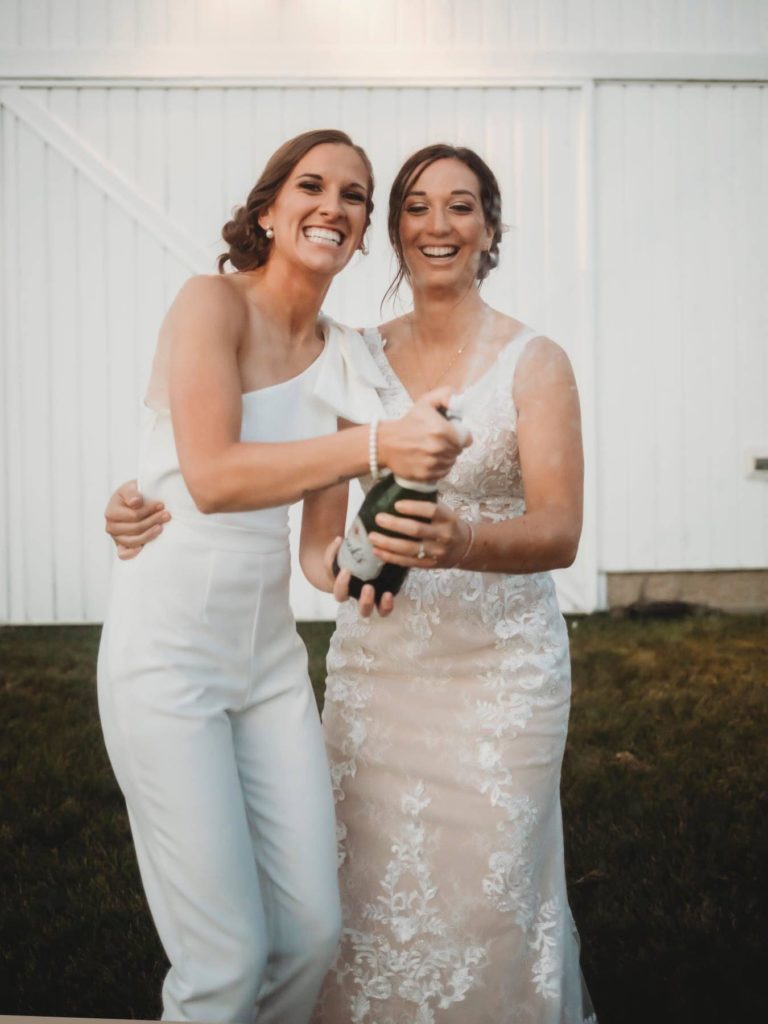
You don’t have to splurge on the most expensive champagne, I mean most of it is going to be waisted anyways. A cheap Andre or Cooks is fine! But if you are picky about the labels you could always pore a fancy bottle into something else to save for later and then switch it for the cheap wine! Either way works! If you switch is, you’ll end up covering the top and shaking it before you “pop” it.
11. Consider the Enviornment
Consider WHERE you are at for yorur champagne photoshoot and make sure you aren not spraying the champagne in an area where people usually are sitting! Take a good look around BEFORE spraying so that no one runs into the spray! If ya know what I mean 😉
12. Lens Choice // Champagne Photoshoot
I typically like to use a longer lens so that I don’t get extremely wet! I find that my 85 is a perfect lens for the distance and provides beautiful bokeh for the background! You can find my favorite lens here! Although, with a 35 you can be right up in the action if you dare hahah!
13. Clean It Up Yo!
The last thing that anyone wants to find on their hikes or walks is your trash. I usually have someone watching to see WHERE the cork is going so that we leave NO TRACE. So consider where you are popping the cork so that you can easily find it! Also, when you take off the top foil, please clean that up as well! For this reason, I may have like 6 corks in my car rolling around- WHOOPS!
14. Include The Pets // Champagne Photoshoot
You knew I couldn’t go a whole blog without mentioning dogs right? You can totally include your pups in your champagne photos too (as long as they are willing) You can sit the pup right next to you during the pop! Or even better, get them their own bottle! Like THESE super cute plush toy bottles!
And there ya have it! Tips for a successful champagne photoshoot for couples + photogs. I hope that after reading these tips you get some EPIC bubbly photos! We can’t wait to see those images! If you are looking for more helpful tips, head on over to our blog!
XOXO,
Sam + Bryt
